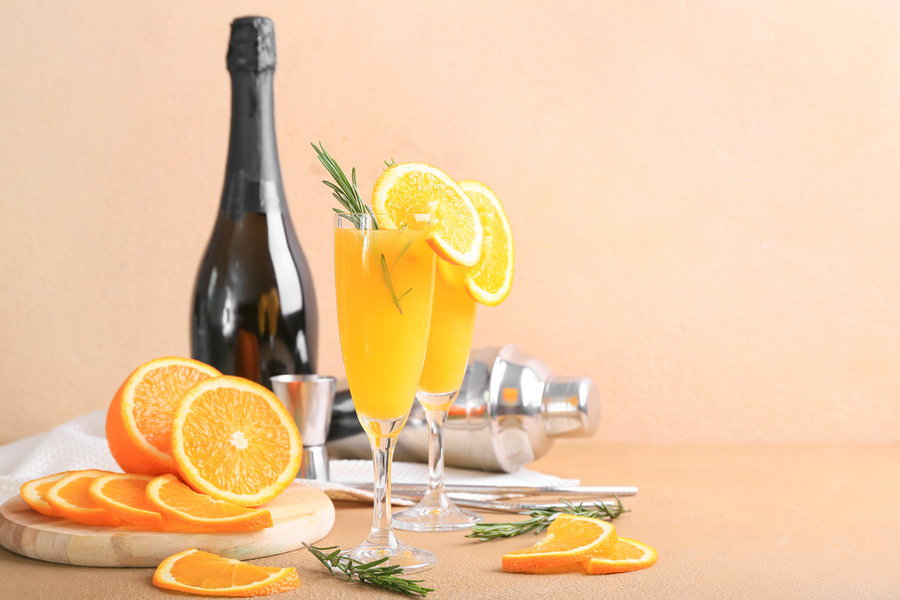
A Mimosa bar is one of the fun ways to serve brunch and engage guests.
A DIY Mimosa bar is simple to set up and requires minimal effort as the host—simply lay out the glasses, bubbly, juice, and garnishes and let the guests help themselves to the bounty of your hospitality.
Generally, brut Champagne is used when serving Mimosas. Still, you can shun this tradition and serve a dry Prosecco or Cava for a more budget-friendly get-together.
One bottle of 750ml Champagne/Prosecco/Cava will yield around six to eight drinks. Working on a 50/50 ratio of bubbles and juices, you’ll need one bottle of the bubbly stuff for two guests. For a party of 12, you’ll need between 4 and 6 bottles (gravitate towards the higher side if you are expecting ‘thirsty’ guests). For a party of 6 guests, you’ll need half that amount of bubbles.
We’ll look at the tableware and other equipment you’ll need for an unforgettable Mimosa bar. Next, we’ll investigate the choice of bubbly you need and offer advice on how much juice and Champagne you’d need. Finally, we’ll examine some finer touches you can add to your Mimosa bar to ensure guests have a fantastic time.
Setting Up Your Mimosa Bar
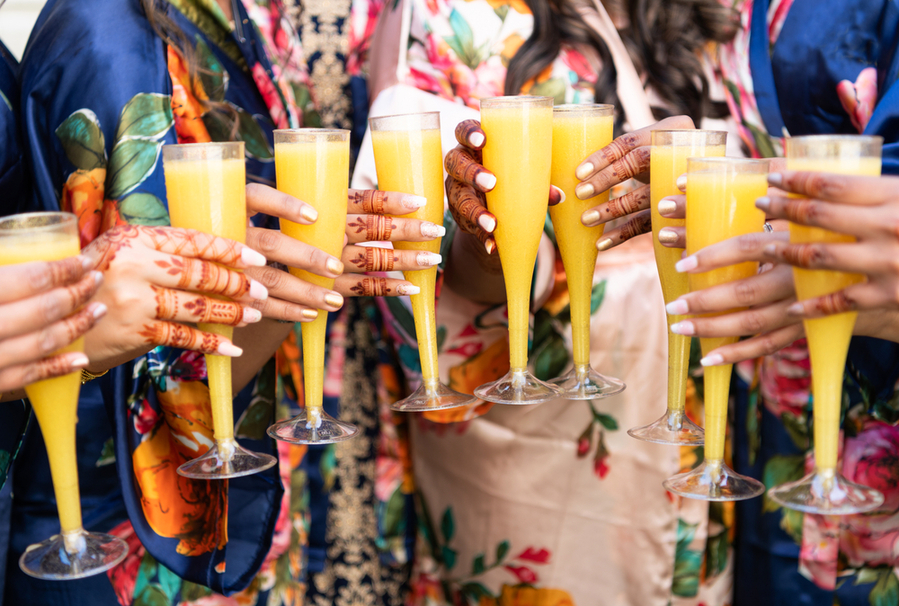
The first and perhaps most important part is to set up a dedicated space. Working with messy liquids like Champagne and orange juice can quickly get sticky and dirty.
So let’s break it down into the essential elements to ensure your next Mimosa gathering will be one for the books.
1. Tableware and Equipment
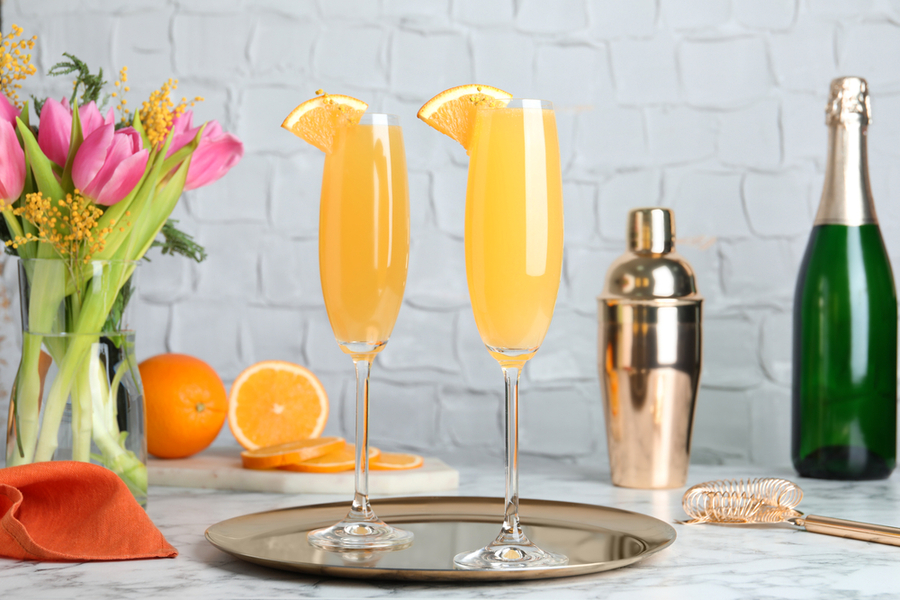
First, you’ll need to gather all the ‘hardware’ for your Mimosa Party. The list below is a recommendation; you can adjust it according to your needs.
What you’ll need:
- Everyday-use champagne flutes (at least two to three for each guest, depending on whether they prefer a clean glass with each serving). No need to take out your best if you’re hosting a large group;
- A stable working surface/space with enough room so that guests can mingle and not queue. Also, allow enough space so that it isn’t crowded. You could consider setting up two serving stations to allow guests enough room to move freely;
- Ice and ice buckets to keep the champagne and juice cold once it leaves the fridge:
- Garnishes (more about this a bit later) and serving containers to keep your garnishes fresh—consider something where you can put a smaller container into a larger one holding ice to keep it all cool and fresh;
- Jugs if you are premixing your Mimosas in batches for guests and carafes for serving at tables (you may lose some of the bubbliness, so delay mixing drinks until just before the guests arrive. You can make a party of it and let everyone join in the fun of measuring and mixing Mimosas of varying strengths and put them in smaller jugs so that everyone can try something of everything).
2. Selecting the Champagne
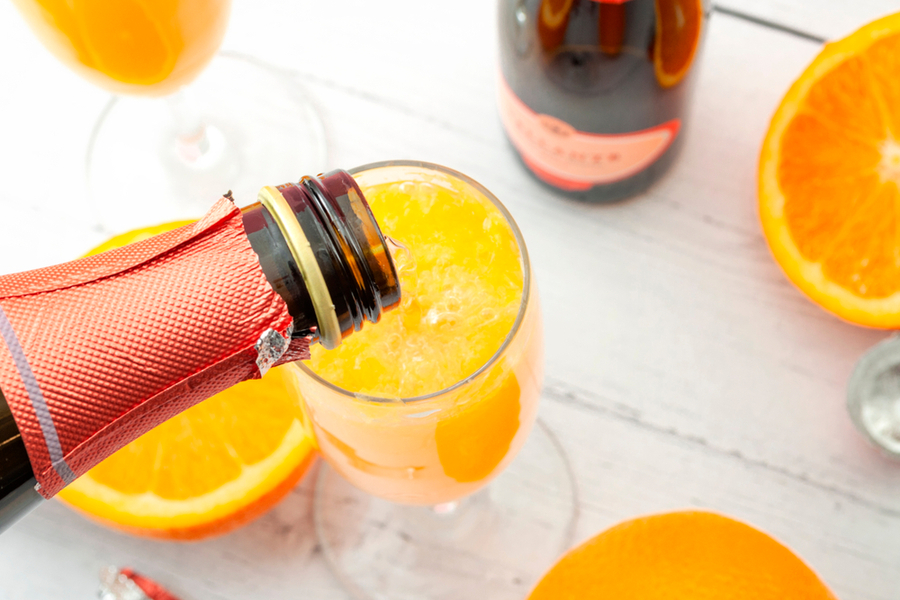
Admittedly, this will be the most expensive part of hosting a Mimosa bar party.
Unless you want to go all-out and splurge on imported (read expensive) French Champagne, Cava from Spain, or Prosecco hailing from Italy, will do perfectly.
There’s no point in diluting expensive French Champagne with orange juice unless it is an intimate gathering and a super special event you’re hosting.
A Brut will be the best option if you’re going the Champagne route because it won’t be overly sweet (you can sweeten your drink with the garnishes, which we’ll discuss later on).
3. Calculating the Required Amount of Champagne
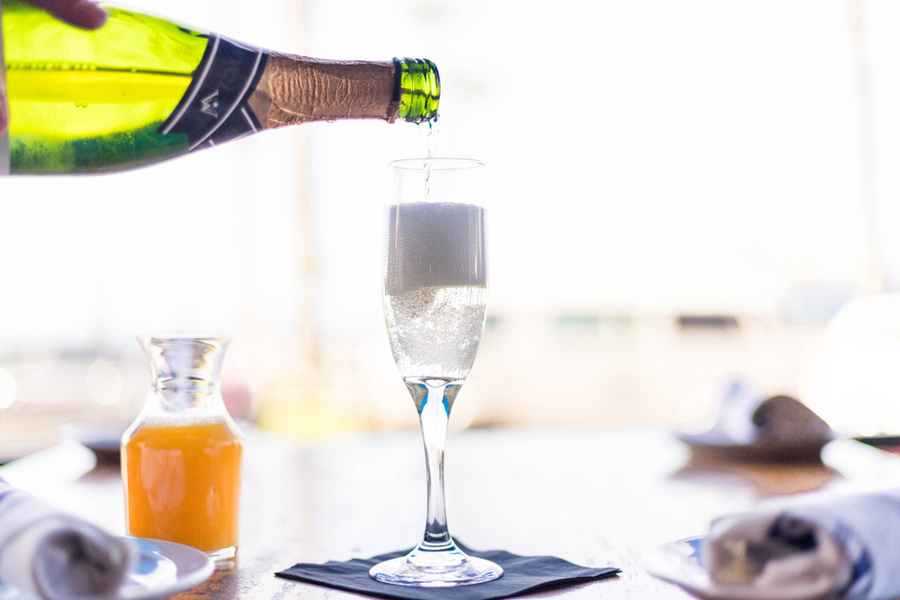
As a general rule of thumb, you can expect to get between six and eight glasses of Mimosas from one 750ml bottle of Champagne (or your bubbly of choice).
Another factor is to try and anticipate how many drinks each guest will enjoy.
Usually, guests drink about two or three Mimosas during a gathering. Thus one bottle should be enough for two persons at a time.
Six bottles should be enough if you are hosting 12 people, including yourself. If you want to be safe, take one-third of your party as ‘thirsty drinkers,’ thus some quick sums:
- 12 guests divided by three drinks each = 4 bottles of Champagne (or your bubbles of choice)
- ⅓ of 4 bottles = 1 ½ bottle extra (round it up to two—nobody likes flat, leftover Champagne)
- In total, you’ll need six bottles of Champagne for a party of 12 people (remember, two bottles are on reserve in the fridge).
Next, we’ll look at the juice and how much juice you’ll need to host the best-ever Mimosa brunch or party.
4. How Much Juice?
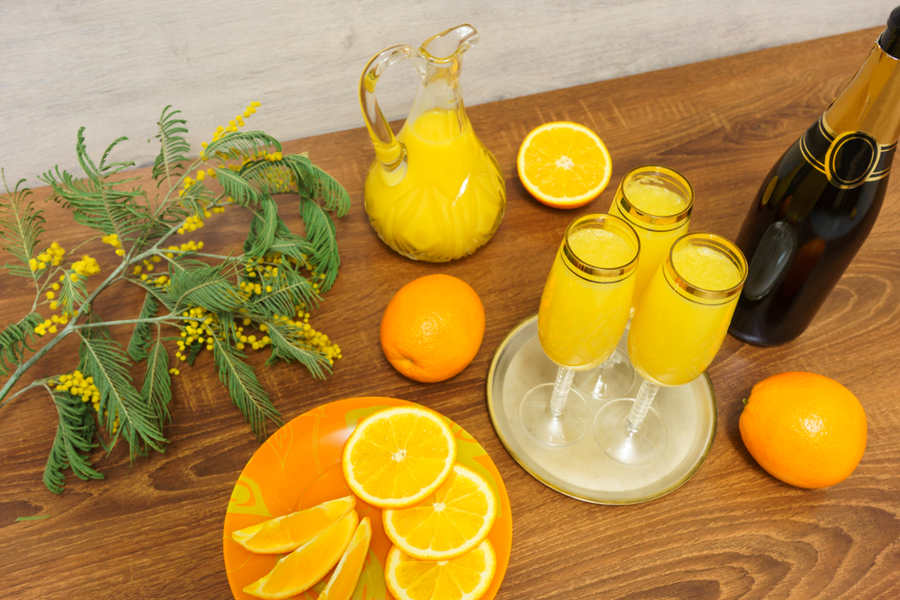
Orange juice is the classic option, but sometimes we should also break a bit with tradition.
Including other citrus options such as blood orange juice, grapefruit juice, or even pineapple juice can be fun. Because you’re using Brut champagne (or another dry sparkling option), consider adding sweet juices like apple juice, strawberry juice, or even pear juice.
You could also take your bar to the next level and make your blends of fruit juices.
Because orange juice is the traditional option, go for the best quality you can afford and opt for pulp-free because the pulp can cause a bit of a mess when preparing Mimosas.
Let’s do some calculations to get the perfect ratio of bubbly to juice:
Again, we’re hosting a party of twelve people, including the host. As you know, one 750ml bottle of bubbles will serve one drink for 6 to 8 guests. We’ll work on a 50/50 ratio of Champagne to juice.
- One 750ml bottle of bubbles = two guests or six drinks.
- 3 x 250ml cups of juice for a 50/50 juice–bubbly ratio.
- Thus, we arrive at 750ml (1.6 pints) of juice per bottle of Champagne.
For a party of 12, you’ll need:
- 6 bottles of Champagne.
- 4.5 liters (1.2 gallons / 4.8 quarts / 9.5 pints) of juice.
You can adjust the recipe according to your and your guest’s preferred strength.
5. Optional Extra: Garnishes and Add-Ons
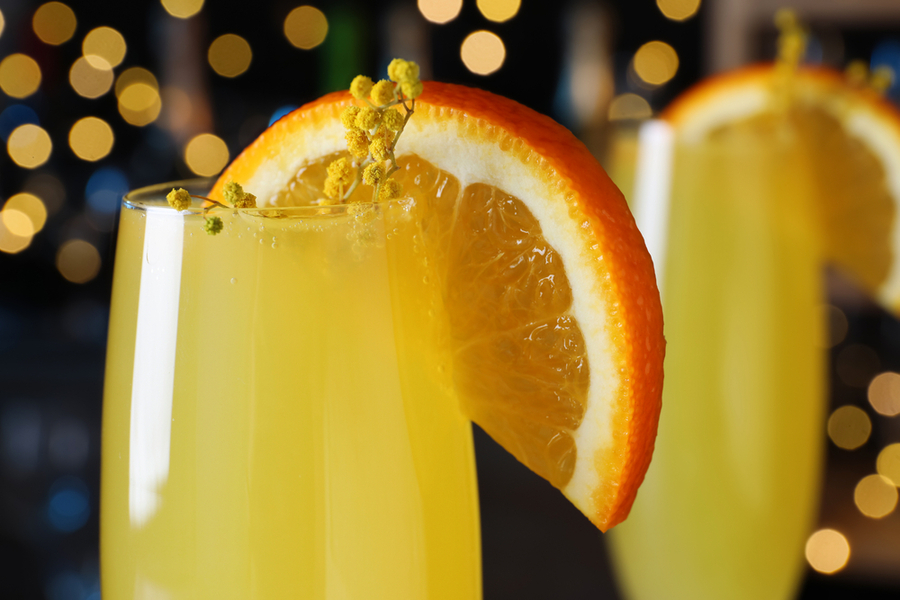
This is perhaps the most exciting part of hosting a Mimosa party or brunch with Mimosas—garnishes and add-ons. The options are legion!
Think of fresh fruits like berries, sliced strawberries, sliced peaches, pureed peaches, apple slices, and orange slices. Try to match your garnishes to the juice options you are serving.
Otherwise, it might create undesired and clashing tastes. Fresh herbs like rosemary or mint leaves can also add a nice touch to your table.
Another option is to get fancy ice trays and add some fruits to the water before freezing to help keep drinks chilled or even to look pretty when you present your guests with the Mimosa bar.
Why not include some liqueurs such as Cointreau or Chambord—two classic orange-flavored liqueurs that will complement the traditional orange juice in the Mimosas?
Or, if you are daring, try a South African favorite, Van der Hum, a tangerine liqueur that may prove to be challenging to find in the usual places but try a specialty liquor shop.
It is a good idea to have a standard Mimosa recipe presented at your mimosa bar to guide guests on the ratios.
If you are using different kinds of juices, remember to label them to guide guests and encourage them to try other options.
Conclusion
There you have it; setting up a Mimosa bar at home is relatively easy and can be a lot of fun when you engage your guests. Remember to have enough space so that everyone can mingle and have enough space to mix up their drinks without the area getting too crowded.

