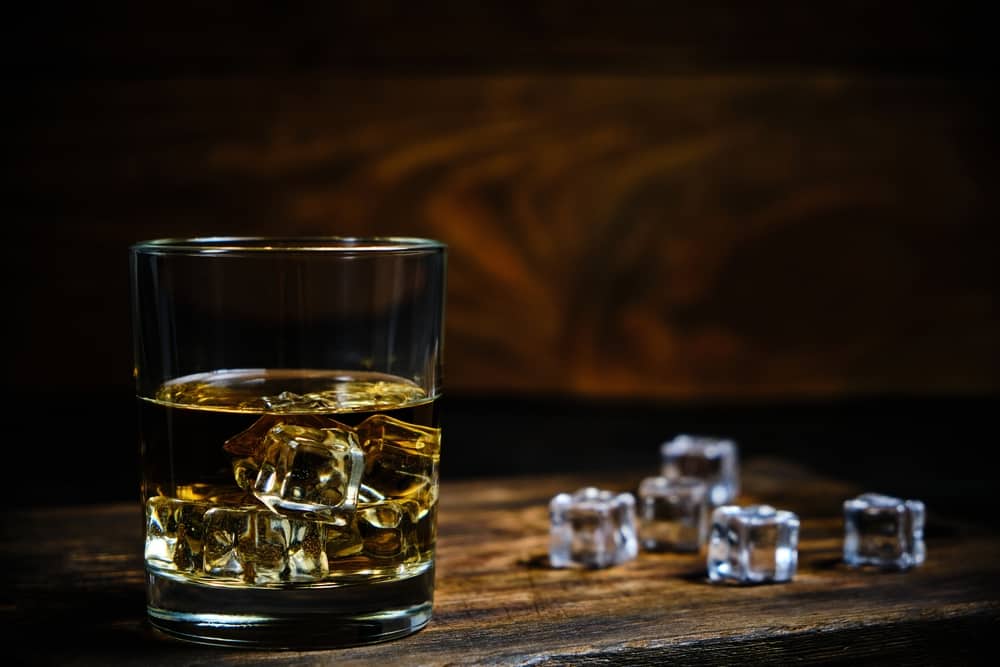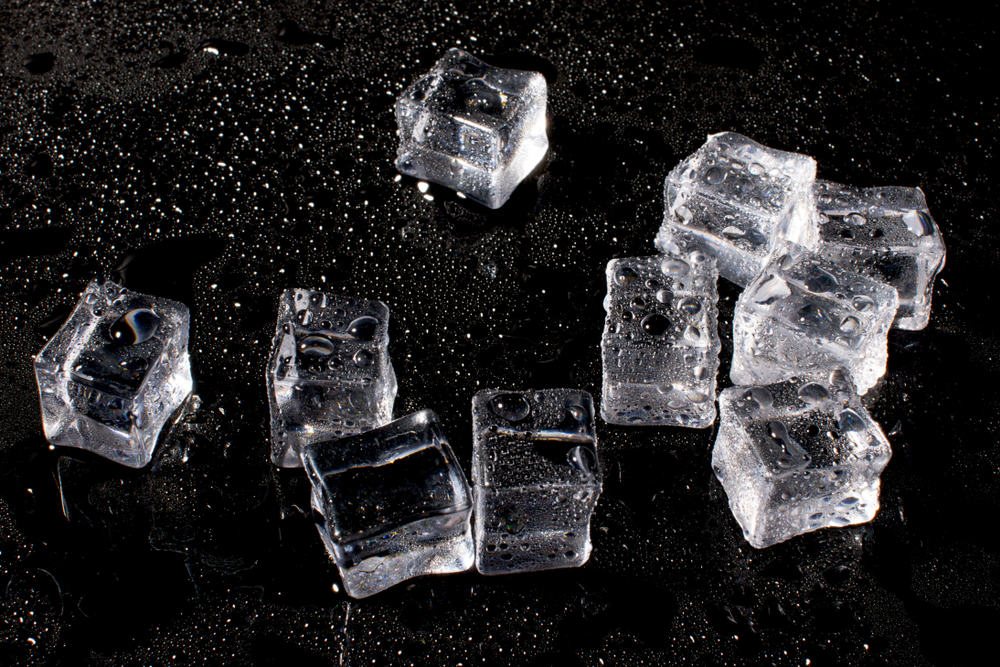
Ice is an important part of whiskey. It mixes with your drink, so it influences the taste, temperature, and appearance of your drink more than you think.
Now, you may be asking, why should I give that much attention to ice? Or why can’t I use regular ice? What’s the difference?
The difference is freezer ice has impurities and oxygen bubbles that leave a residue when they melt. And you don’t want residue in your bourbon.
Store-bought ice is often irregularly shaped and often hard to work with. On the other hand, clear ice melts much slower than freezer or store-bought ice and has fewer bubbles. So not only will your drink stay colder for longer, but your whiskey won’t get diluted.
So how do you make crystal clear ice cubes for whiskey?
You can either use the cooler method, which entails directionally freezing water in a cooler and cutting the ice, or the freezer mold method, using molds you can pour water in to get clear ice.
Continue reading to learn these methods of making clear ice so you can start making yours in no time.
Starting Tips

- Prepare in advance: as a bartender, you need to be ready in advance because you can’t possibly pull it off on the day you need the ice. Don’t worry about doing it a week before; as long as you store your clear ice well, it won’t melt.
- Make your ice: freezer molds work sometimes, but they don’t guarantee clear ice. Your best bet is to make your ice and cut it yourself. You can use an ice press to shape your ice after cutting.
- Pay attention to size: on the topic of cutting ice, size matters more than you think. Different drinks require different ice sizes, so you may want to cut different sizes when making your clear ice.
- Clear ice is best: I’ve said it before, and I’m saying it again. Clear ice gives your drink the exotic aesthetic you seek. They don’t melt quickly and won’t dilute your drink.
- Keep it fresh: store it well after cutting and shaping your clear ice. Ice takes on the flavor of other stuff in the fridge, so think again before storing it next to a pie. A Ziploc bag or any other storage container will do.
Things You’ll Need
- Cooler
- Ice tongs or any tongs
- Sharp bread knife
- Wooden mallet or hammer
- Ice press (optional)
- Freezer mold (optional)
- Cutting tray
- Freezer bag
- Freezer (obviously)
Choose a cooler with a removable lid that can fit in your freezer. We’re using a cooler because it’s insulated at the sides and bottom. Air won’t be able to penetrate your ice and ruin its clearness.
2 Ways To Make Clear Ice Cubes

Here are two methods to make clear ice cubes for your whiskey, bourbon, or any other drink.
#1 Cooler method
This method entails making clear ice cubes mostly with the aid of a cooler. It’s insulated perfectly, so it’ll work well.
Step 1: Pour Water Into the Cooler
It can be tap water, distilled water, or filtered water. Use any water you think will be perfect for your clear ice cubes. Yes, I said tap water because tap water is safe to drink in some parts of the world. If your tap water looks or tastes weird, don’t think of using it to make clear ice.
Not only will it alter the taste of your drink, but your ice may not look as clear as you want if your tap water is colored. When pouring water into the cooler, don’t fill it to the brim. Water expands when cooling, so you’ll need to give it space to expand so it won’t mess up the process.
Step 2: Put the Cooler in the Freezer
Put the cooler into the freezer with its lid open and wait. How long are you waiting for? It honestly depends on your freezer setting, but a general rule of thumb is 24 hours.
You’re taking the water out of the freezer that early because you don’t want it to freeze completely. Water freezes directionally. So the purest water freezes first at the top and works its way down.
Step 3: Bring Cooler Out of the Freezer
So after 24 hours, only the top should be frozen, but you’ll bring it out of the freezer to drain–or cut out in this case–the impure water.
After bringing it out, don’t make the mistake of pouring water on it to try to melt it, putting your hands on the ice, or using something sharp to try to carve it out. You’ll mess up the ice, and all that hard work will be for nothing.
Pouring water on the ice will crack it, and your ice won’t be as clear as you want. So here’s what you should do.
Step 4: Let Cooler Acclimate to Room Temperature
This should only take five minutes or less. After bringing your ice out of the freezer, put it aside to let it melt or sweat.
When you see water forming at the sides of the cooler, it’s a sign that it’s melting, and you should move to the next step.
Step 5: Flip the Cooler Over
You’ll want to do this over a kitchen sink because it gets messy. On the kitchen tray, flip the cooler over and wait again. Don’t try to bang the top so the ice will come out. Just let it slide out naturally.
After it’s out, you’ll notice an unclear layer of ice at the top, then your clear ice at the bottom. Using the mallet, smash the unfrozen top layer and use the knife to even it out.
Step 6: Cut Your Ice
Use the bread knife to carve a line across the large block of ice, the width you want your cubes to be, and use a mallet to extend that line down the ice. Don’t hit hard with the mallet; small taps will do.
Using this method, cut your ice into squares (it won’t be accurate). You can also use an ice press (made from aluminum) to shape your ice into perfect spheres.
Step 7: Store Your Ice
Get a freezer bag, Ziploc, or any secure storage medium and store your clear ice. You can store it in the freezer as long as you want. So when you want to use it for your party or event, just bring it out and serve with the tongs.
#2 Freezer Mold Method
Don’t want to go through all the stress mentioned above? There’s an easier way that’ll cost you some money. Purchase a freezer mold online–usually costs from $50-200.
It works like the ice cooler but on a smaller scale–the purest water freezing at the top. You’ll pour water into the mold and get clear ice when you bring it out.
Final Thoughts
Now that you know how to make clear ice start giving your drinks the visual appeal that’ll make people beg for more. Not everyone likes ice in their whisky, and that’s fine. People who drink their whisky neat say ice dilutes it, but some bottles of whisky need ice to taste good.


