Coolers are the heart of any camping trip as you can not carry your refrigerator with you and lack the electricity to power one up. Knowing how to pack a cooler with drinks can help it last longer, keep your drinks cold for extended periods, and keep the party going without a hitch.
Coolers have been upgraded over time and come with better insulation and bigger inner space with compact sizes.
So, if you want to pack food and drinks, use two coolers; instead of fitting everything in a single one because the cooler containing drinks is frequently opened and closed.
Now let us get to our main question, how to pack a cooler with drinks?
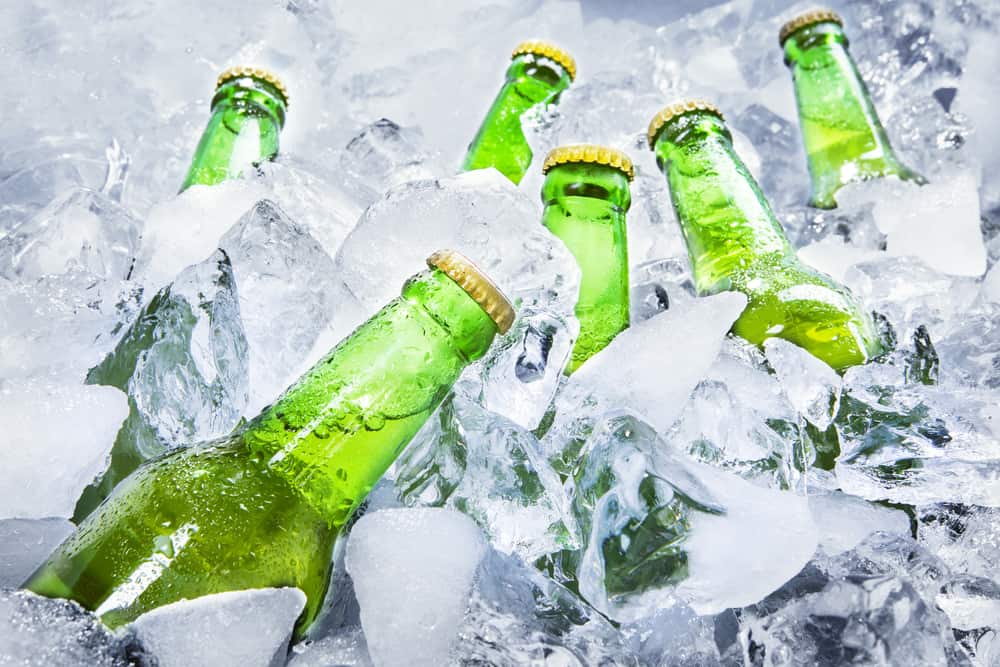
The best way to pack a cooler with drinks is by stacking them orderly, whether they are bottles or cans. You can lay down a bed of ice if you have a surplus of ice and stack cans and bottles over it, but make sure to avoid any air gaps, which can speed up the melting process.
Here, we will guide you step-by-step along the way to packing your cooler with drinks most efficiently.
How To Pack a Cooler With Drinks
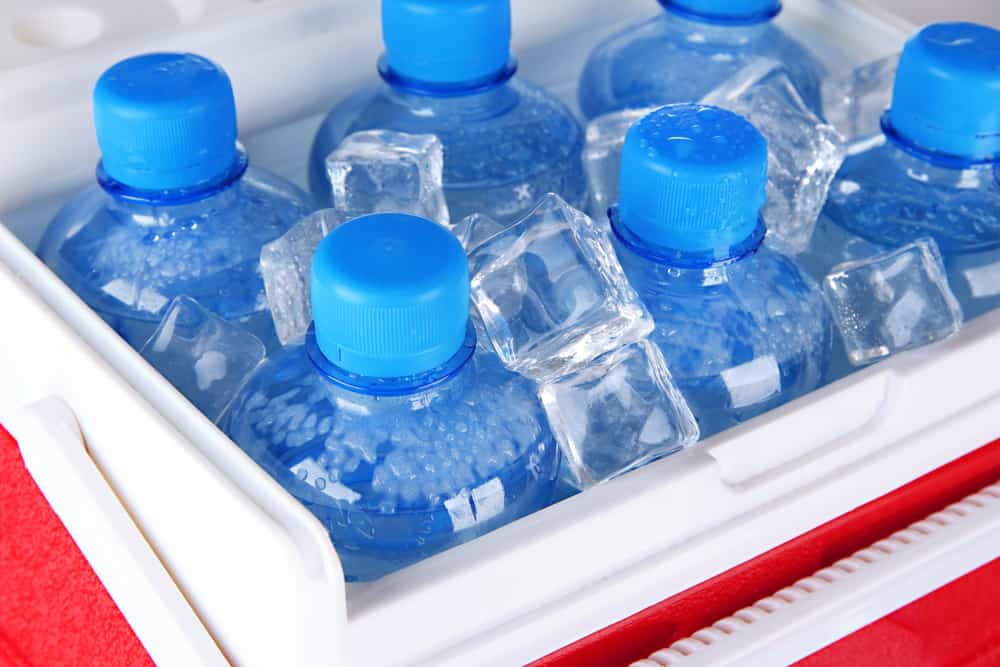
Dumping ice and bottles in the cooler is what most of us do when we want to go for any outing in the woods to spend quality time in the open environment. Check out why you need a cooler for a camping trip here.
However, this is often thwarted and cut short by the life of our cooler, and we have to resort to either cheap convenience store goods or cut our trip short.
Here are some steps to accurately pack your cooler and not worry about it thwarting your plans.
Step 1
Start by cleaning your cooler if it is gathering dust in your garage, store, or attic. As unimportant as it may seem, it will show you any damage to insulation or leaks beforehand. Afterward, cool it before, at least a day before your trip.
Step 2
Time to start packing your drinks in it after your inspection, but how to do it? Instead of dumping the drinks, stack them up orderly. Try laying a layer of drinks one on top of another. It will not only maximize the space but will make sure gaps are filled.
Step 3
While layering your drinks, do not forget the most crucial thing that will keep your drinks cool. Yes, you guessed it, ice! Try to take cubed or crushed ice and fill the gaps in the layers with it by slightly giving the cooler a jerk.
Try to add ice after each layer of cans/bottles; otherwise, it becomes quite a headache and leaves empty spaces if you add it after stacking all the cans.
Step 4
After layering the drinks and adding ice, what more could you do, right? But wait, you still have two more things to do. For starters, sprinkle salt on your ice as it will make a super cold layer. To know why such happens, check this article out.
Step 5
Finally, the last step, what you need is to add a layer of ice packs on the top. Why is it significant, you ask?
Simple, it adds an extra layer of insulation to your drinks, keeping them cold for longer. So, it is an ideal solution if you are planning a lengthy camping trip, and that is all.
Best Ways To Stack Drinks in a Cooler
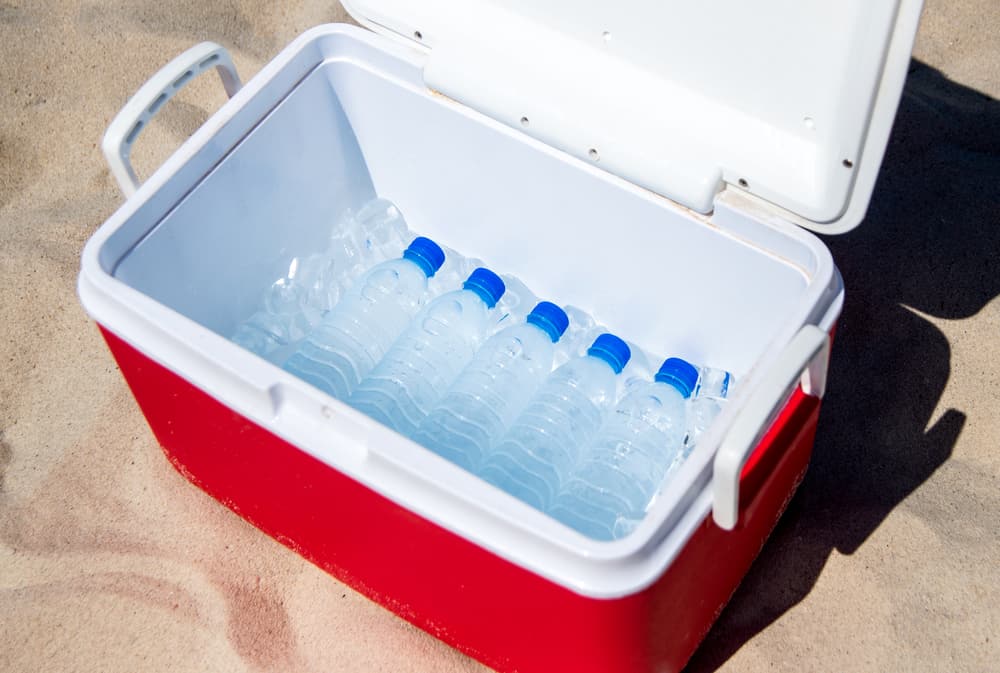
There are three main methods to stack cans and bottles in your cooler; here is how. Also, here is a list of the best drinks to take with you on a camping trip.
1. Prepare a Tower Stack
The first and possibly the most common way you see drinks stacked in your commercial/convenience store refrigerators.
Try to add a layer at the bottom by standing them side by side and pouring crushed ice into the gaps. Continue till you fill the cooler to the brim.
Remember, this method is best if you are taking cans with you. Using this strategy with bottles takes extra space away from you and lets you carry a lot less. However, it is effective at evenly cooling the cans.
2. Line Your Drinks Horizontally
The following method is laying your drinks down horizontally, which is the best way to pack your coolers, whether you take bottles or cans.
Start by laying your cans at the bottom, then add a layer of ice crushed or cubed (chunky, but not large blocks), and repeat these over and over till you reach the top.
Make sure you have enough space at the top for your ice packs; if not, add the finishing touch with an ice layer.
3. Cross Layering
It works the best in the case of bottles because they are less likely to slip over each other, unlike the cylindrical shape of cans.
It follows the horizontal layering approach with a twist. Instead of layering all drinks horizontally in the same way, make a cross, or more accurately, plus shape while laying them horizontally, with a crushed ice layer between each.
It maximizes the space for bottles, and you can have them chilled on the fly.
How To Pack a Cooler To Make It Last Long
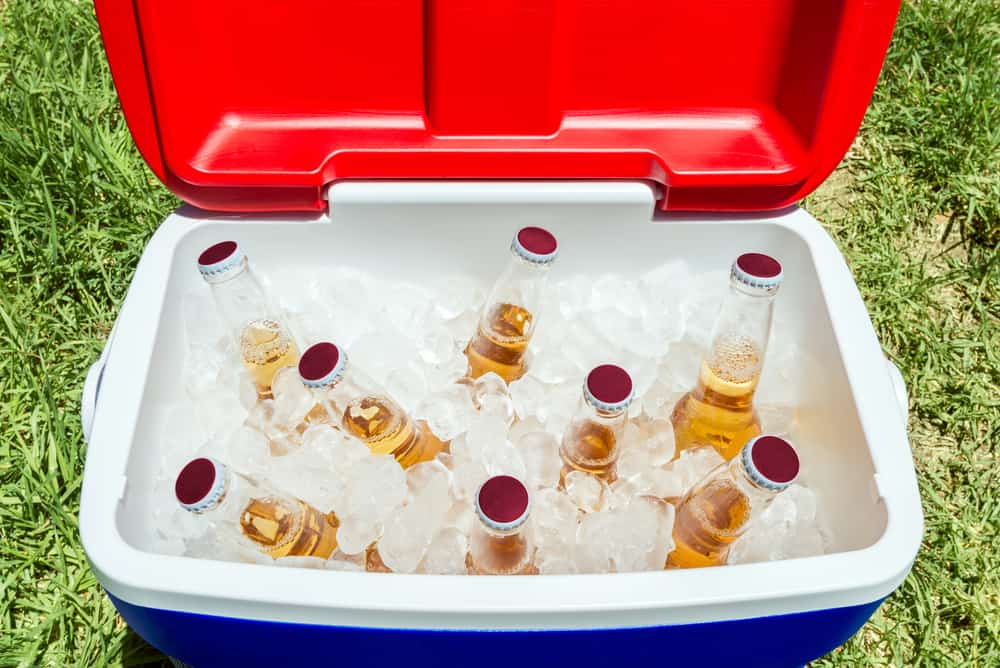
There are several ways to keep ice from melting in your cooler but be mindful that crushed ice melts the fastest. So, how can you pack a cooler to make it last long?
Pre-Chill Everything: Your cooler and drinks need to be pre-chilled to retain ice in the cooler and make it last longer.
Ice and Drinks Ratio: The most significant thing to attain a balance between cooling and making your ice last long is dependent on the ice-drinks ratio. Use two times the amount of ice to drink (2:1).
Avoid Empty Spaces: Air is the main culprit behind ice melting. Filing the gaps with crushed ice keeps ice from melting.
Avoid Pouring Out Cold Water: Cold water acts as an insulating blanket, with rock salt added; it keeps the drinks super chilled with ice. Cleaning out the watered ice is a practice best not done.
Use Dry Ice: Dry ice can be added with routine ice to keep your drinks chilled and increase the shelf life of ice in a cooler. Use reusable dry ice packs to keep you from replenishing them repeatedly.
Conclusion
Now you know how to pack a cooler with drinks and can avoid the dumping practice. So, layer your drinks vertically, horizontally, or crossly and fill the gaps with ice to keep them cold for long.
To top it all off, use ice packs as an extra layer of insulation and have fun!


